Stardock Fences Themes & Appearance: Full Customization Guide (2026)
Stardock Fences organizes your desktop icons — but once your fences are in place, the next question is how to make them look good. The default semi-transparent grey containers work, but they are generic. Fences 6 gives you per-fence color, opacity, title styling, and icon sizing controls that let you build a desktop that looks intentional rather than assembled.
This guide covers every appearance option in Fences 6, in the order you would actually use them. At the end, there is a brief comparison with how Themia handles widget theming — a different visual philosophy for a different kind of desktop tool.
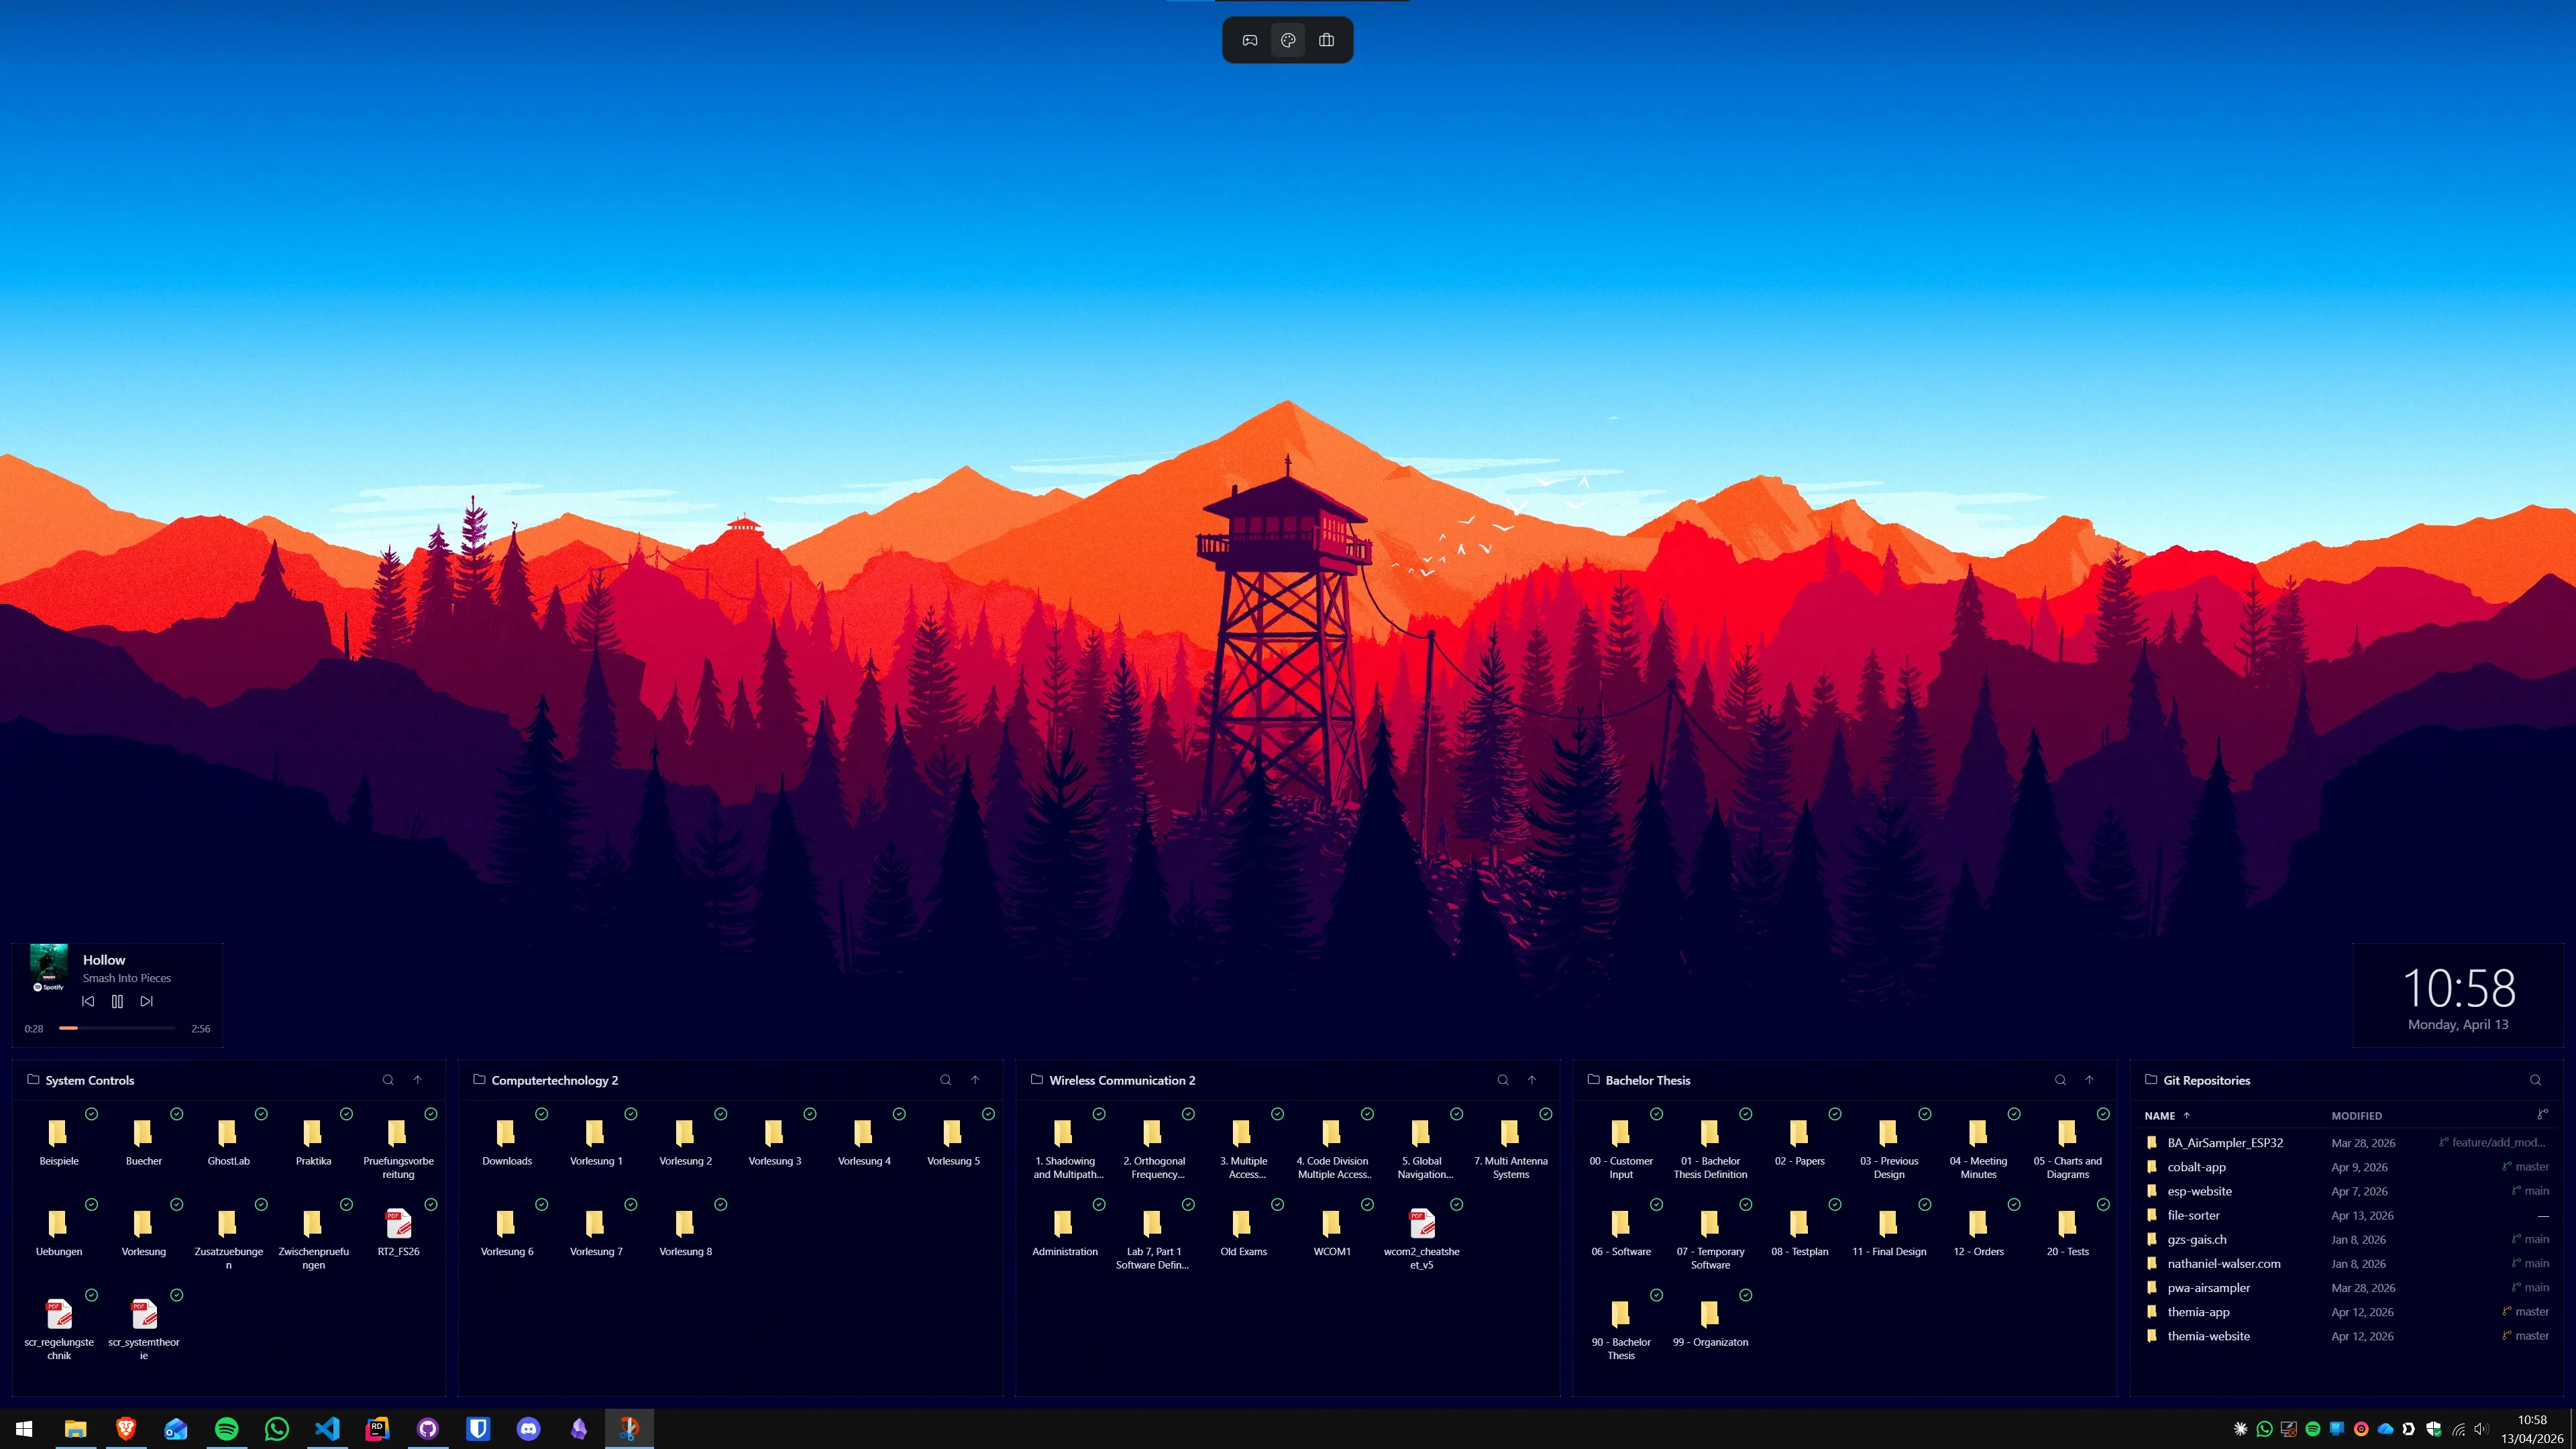
What Stardock Fences actually controls visually
Fences 6 appearance settings fall into three layers:
- Per-fence settings: background color, background opacity, border visibility, title bar text and font size. Each fence stores these independently.
- Global settings: default icon size inside fences, scrollbar behavior, fence snap-to-grid spacing. These apply across all fences unless overridden per container.
- Windows integration: Fences renders using the Windows desktop compositor, so its transparency interacts with your wallpaper — a semi-transparent fence shows the wallpaper underneath, not a blurred blur effect like Windows glass.
One thing Fences does not control: the desktop icons outside of fences, or anything about the taskbar, start menu, or accent color. Those stay in Windows Settings → Personalization.
Step 1: Set per-fence background color and opacity
The fastest way to make fences look deliberate rather than default:
- Right-click any fence and choose Configure fence from the context menu.
- In the Configure Fence dialog, find the Background Color picker. Click it to open the color wheel — you can enter a hex value directly if you know your palette.
- Set Background Opacity using the slider. Around 20–35% opacity on a dark color (navy, forest green, deep purple) gives a subtle tinted look. Higher opacity (60–80%) makes the fence more visible as a distinct zone, which helps when you have a busy wallpaper.
- Click OK and repeat for each fence you want to style individually.
A common approach: use one color family across all fences (e.g. slightly different shades of slate blue) so the desktop looks cohesive but each zone is still distinguishable. Avoid high-saturation primary colors on work desktops — they compete with application windows for attention.
Step 2: Title bar and font styling
The fence title is the label that appears at the top of each container. By default it shows in a plain system font at moderate size. Fences 6 lets you adjust this per fence:
- Font size: In Configure Fence, look for the title font size slider or input. A slightly larger title (14–16pt vs the default 12pt) reads more clearly if your fences are small.
- Title visibility: You can hide the title entirely on fences where the icon arrangement makes the purpose obvious — a fence with four game launcher icons does not need a title that says "Games."
- Title position: Fences 6 keeps titles at the top of the container. You cannot move the title to the bottom or side.
One practical note: if your wallpaper is very light-colored, the default white fence title text becomes hard to read. Switching to a dark background color even at low opacity behind the title gives enough contrast without making the whole fence opaque.
Step 3: Global icon size inside fences
Fences 6 lets you set the icon size inside all fences independently from the Windows desktop icon size setting. This is useful if you want the desktop background (outside fences) to use large icons for quick access, while fence icons stay compact to fit more items per container.
To change this: open Fences Settings (right-click desktop → Fences → Fences Settings), go to the Fences tab, and adjust the Icon Size slider. The change applies to all fences globally — there is no per-fence icon size override.
Step 4: Matching fences to your wallpaper
The most visually effective setups pick fence colors from the wallpaper itself. A practical process:
- Open your wallpaper in any image viewer that shows pixel color values (even Windows Photos in "edit" mode lets you see approximate colors).
- Identify one or two dominant mid-tone colors — avoid the lightest highlights and darkest shadows, as these tend to look washed out or too heavy at fence opacity levels.
- Enter those hex values into each fence's background color picker.
- Set opacity to 25–40% and check how it reads against your actual wallpaper at desktop resolution.
If you use Windows 11's "automatically pick an accent color from my background" setting, note that the accent color Windows chooses tends to be a saturated version of the dominant wallpaper hue. Using a slightly desaturated or darker variant of that same hue for fence backgrounds usually gives a more grounded look than using the full accent color directly.

Step 5: Using border and shadow options
Fences 6 includes a border option that draws a visible outline around each container. The border is subtle but makes fences easier to distinguish when the background opacity is very low. You can toggle it in Configure Fence under the appearance section.
Fences does not render drop shadows in the same sense that application windows do — it integrates with the Windows desktop layer, so you will not get the layered shadow effect you see under standard Win32 windows. The "depth" in a Fences layout comes from color and opacity contrast rather than shadow effects.
What Fences appearance settings do not include
Worth knowing before you go looking for options that are not there:
- No dark mode sync. Fences does not follow Windows dark/light mode automatically. You set colors once and they stay fixed until you change them again manually.
- No gradient fills. Background colors are solid or semi-transparent solid. Gradients inside fence containers are not a built-in option.
- No icon label styling. The text under desktop icons inside fences uses the same system font as Windows desktop icons generally — Fences does not let you change it.
- No animated backgrounds. Fence backgrounds are static. They show your wallpaper through at the opacity you set, nothing more.
- No community skin marketplace. Unlike Rainmeter (which has a large skin library) or older gadget platforms, Fences appearance is configured through its settings UI rather than downloadable themes from a community library.
How Themia approaches appearance differently
Stardock Fences and Themia handle desktop appearance from opposite starting points. Fences styles icon containers — tinted glass trays that hold shortcuts. Themia styles live data widgets — panels that show current weather, calendar events, system stats, and folder contents.
Where they differ on appearance:
- Per-widget theming: Themia lets you set a background color, border radius, accent color, and font size per widget independently. A weather widget and a system stats widget can have distinct looks even sitting side by side.
- Wallpaper awareness: Themia widgets can be set to a semi-transparent mode that shows the wallpaper through, similar to Fences, or to an opaque card mode for clarity on complex wallpapers.
- No icon grid to style: Because Themia replaces icon groups with live data, you do not have rows of icon labels to deal with — the visual design is panels and data, not sorted shortcuts.
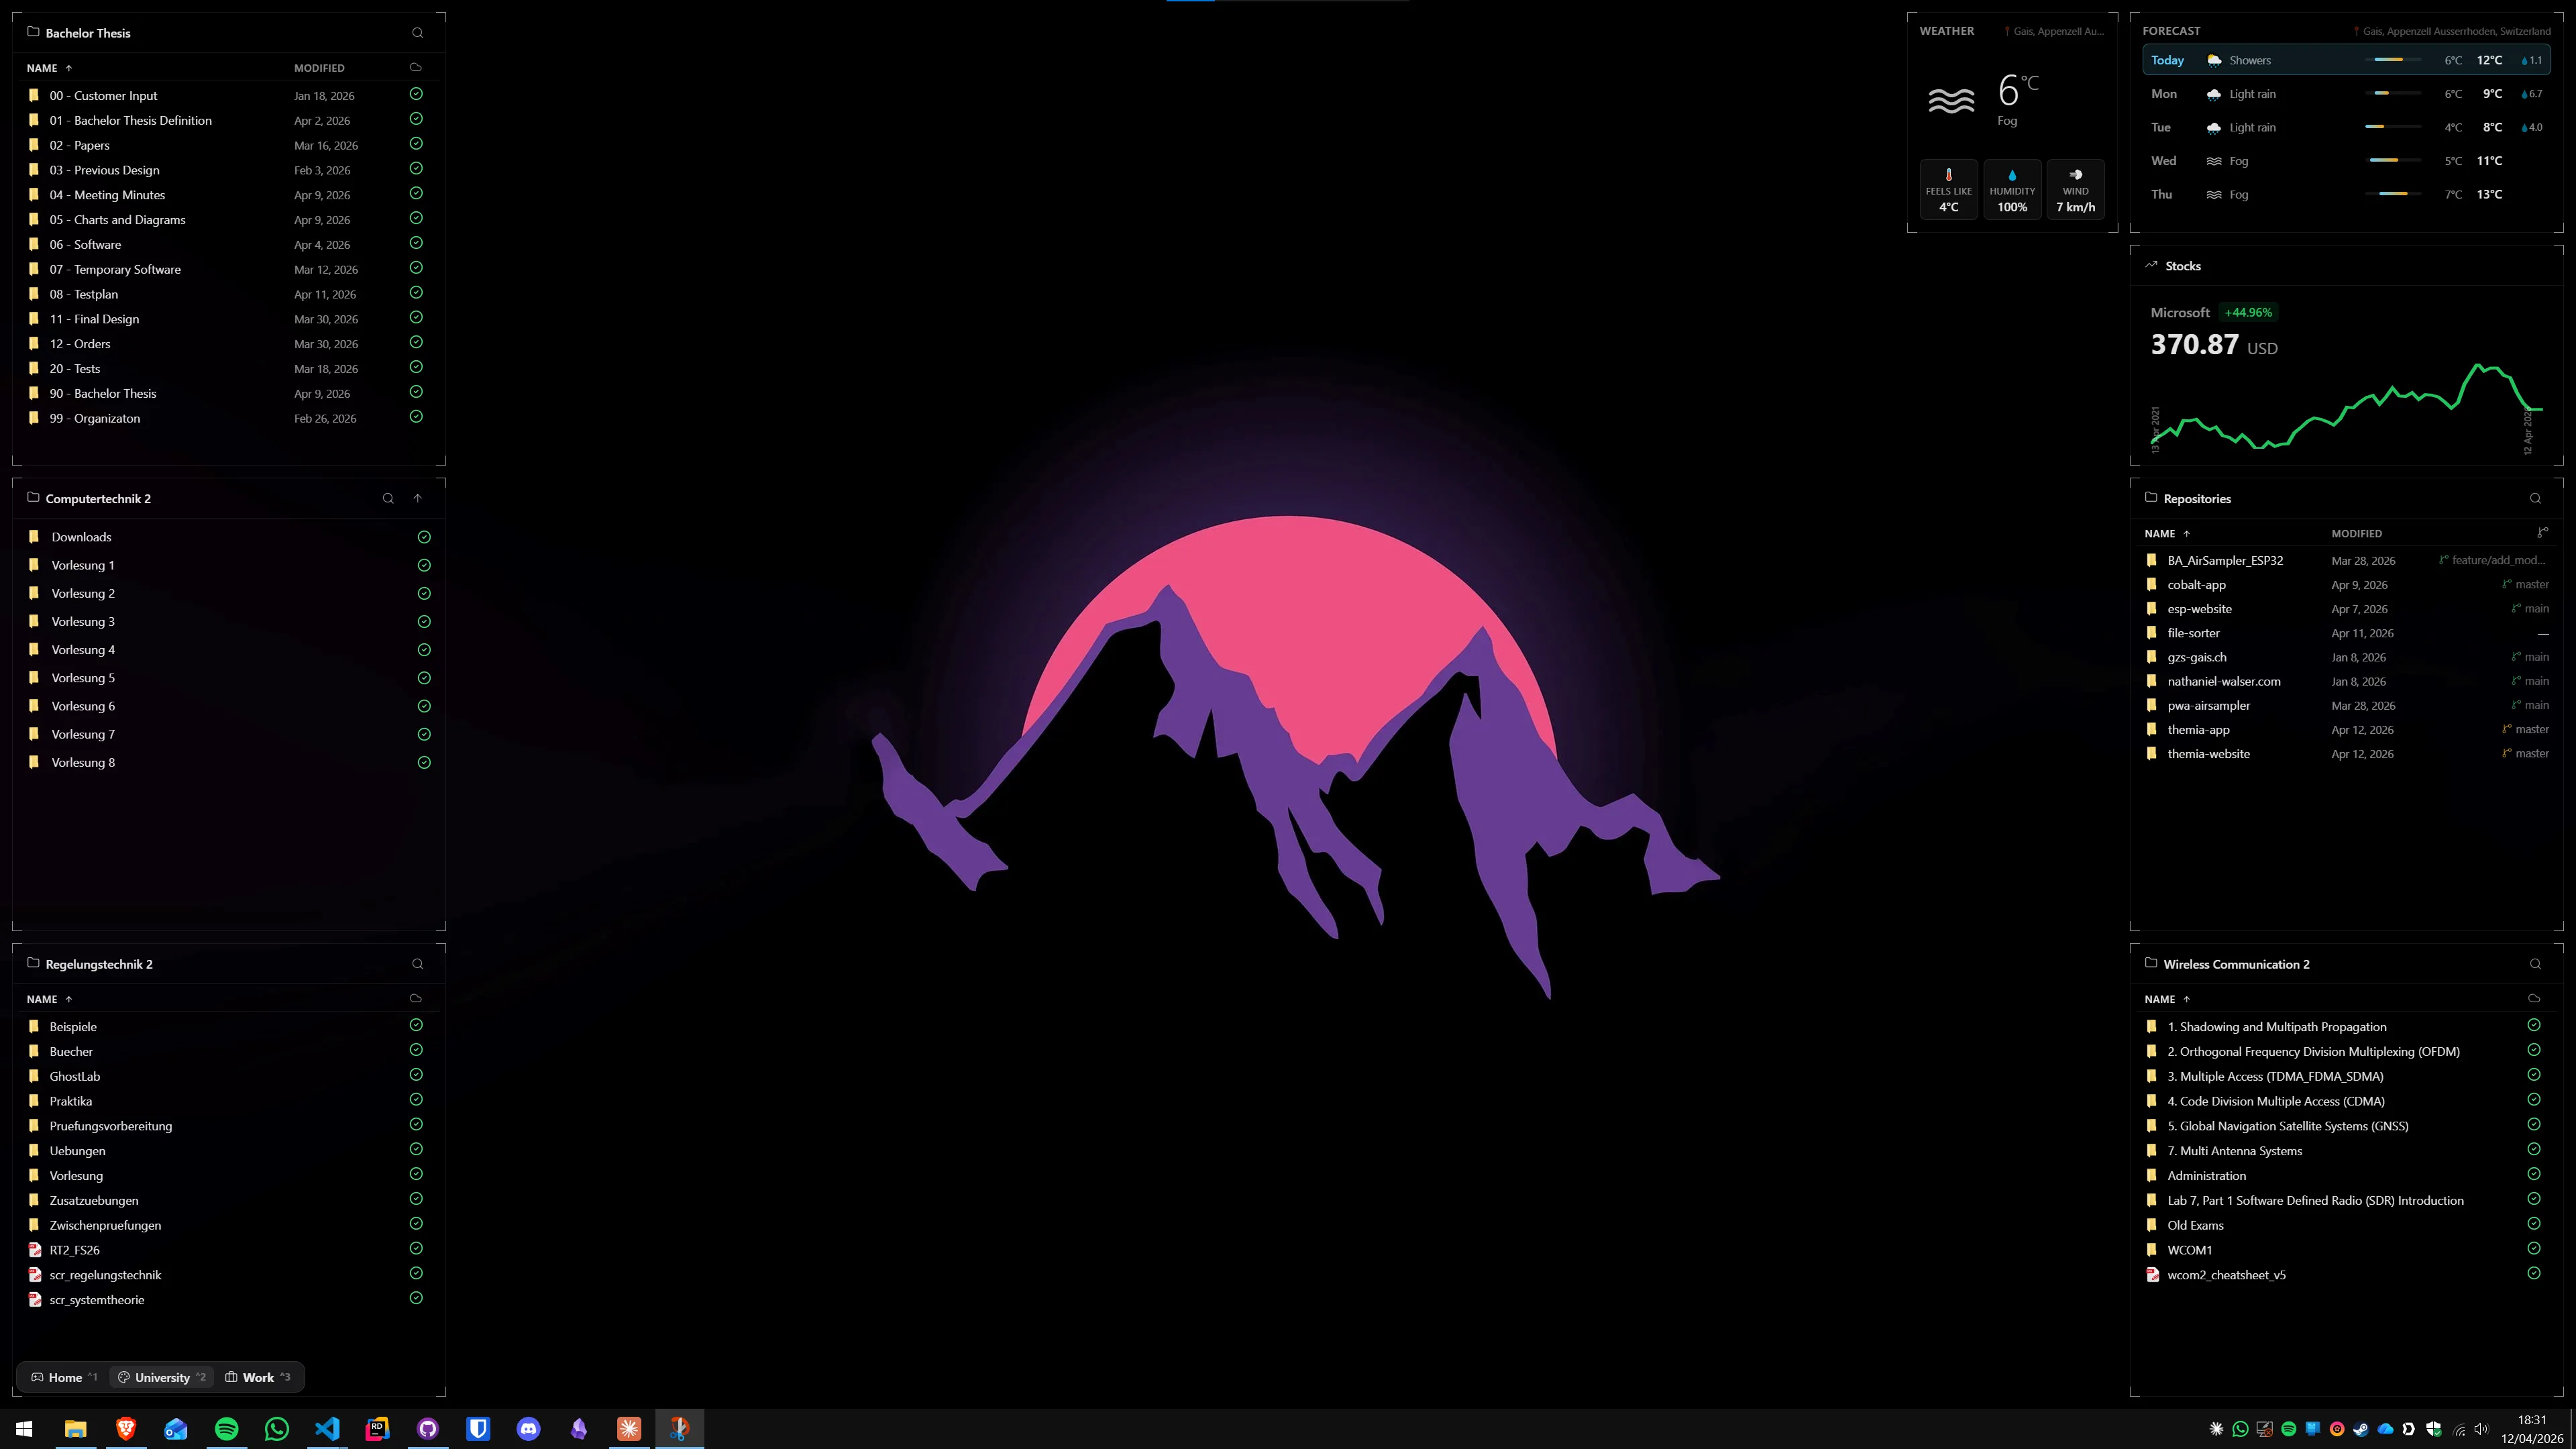
The practical difference: if your main goal is desktop tidiness and you want your icon groups to look polished, Fences appearance controls are built for exactly that. If your main goal is a live dashboard on your desktop, Themia's widget theming gives you more design surface to work with — each widget is a small panel that you can tune independently rather than a transparent tray for icons.
Fences 6 pricing and where to get it
Stardock Fences 6 costs $29.99 as a one-time perpetual license, or $9.99 per year as a subscription. Both are available directly from Stardock's website and on Steam. The perpetual license covers the current major version; a future major version would be a separate upgrade purchase. All appearance customization described in this guide is included in the standard license with no additional unlock required.
Themia is free to download with a free widget tier that covers weather, calendar, and system stats. The one-time $19 Pro unlock adds all remaining widgets and removes the widget count limit — no subscription.
Summary
Stardock Fences 6 gives you solid per-fence appearance control — color, opacity, title size, icon size, and borders. The controls are practical rather than elaborate: you set a color, set transparency, and move on. There is no community theme library or automatic wallpaper matching, but the per-fence color picker and opacity slider are enough to produce a cohesive layout when you put in five minutes of color selection.
If you want to go further — live data on the desktop instead of or alongside icon containers — Themia's widget theming lets you build a styled dashboard layer on top of your wallpaper. The two tools address different aspects of the desktop and do not conflict if you run them together.
FAQ
Can Stardock Fences match my Windows 11 dark mode automatically?
Fences 6 does not automatically follow the Windows system dark/light mode toggle. You set each fence's background color and transparency manually. If you switch Windows to dark mode, your fences stay whatever color you configured. You can manually darken them to match, but there is no automatic sync.
How do I make Stardock Fences containers transparent?
Right-click any fence and choose "Configure fence." In the appearance panel, lower the Background Opacity slider — all the way to the left makes the fence nearly invisible, showing only the icons and title. You can also set a semi-transparent tinted look by combining a dark background color with around 30–50% opacity.
Can I give each Stardock Fences container a different color?
Yes. Right-click any individual fence, choose "Configure fence," and set its background color independently from other fences. Each fence stores its own color, opacity, and title styling settings. There is no global "random color per fence" option — you set them manually one by one.
Does Stardock Fences support custom fonts or icon sizes?
Fences 6 lets you adjust the fence title font and size, and you can change the icon size inside a fence independently from the Windows desktop icon size setting. Custom system fonts (not the Fences title) are not directly supported within the fence — icon labels use whatever font Windows applies to desktop icons.
How does Themia's appearance compare to Stardock Fences?
They solve different visual problems. Fences styles icon containers — background color, transparency, title fonts. Themia styles live data widgets — widget background, accent color, border radius, and font size per widget. Fences looks like tinted glass trays on your desktop. Themia looks like a dashboard of live panels. If you want your widgets to match a custom color palette or wallpaper precisely, Themia's per-widget theming gives you finer control.
Can I export and share Stardock Fences appearance settings?
Fences 6 includes a Backup & Restore feature (Fences Settings → Backup) that exports your full configuration including fence layout, colors, and auto-organize rules as a single file. This lets you restore the same look on another PC or after a Windows reinstall. There is no built-in way to share just the color/appearance portion separately from the layout.