How to Set Up Windows 11 for Gaming (2026 Guide)
A factory Windows 11 install is not optimised for gaming. It runs background update tasks at unpredictable times, leaves memory running below its rated speed, and splits GPU scheduler attention between your game and a dozen background processes. Most of these are fixable in under an hour — and the fixes are cumulative.
This guide covers every change that actually matters for gaming on Windows 11 in 2026, ordered from highest to lowest impact. Skip the ones that do not apply to your setup. Come back to the later sections when you have extra time.
Step 1: Update your GPU driver
This is the single highest-impact step on the list. GPU manufacturers push driver updates that include optimisations for new game releases, bug fixes for specific titles, and performance improvements that can translate to a 10–15% FPS uplift on particular games. A driver that is six months out of date is measurably slower in current titles.
- NVIDIA: Download GeForce Experience from nvidia.com and use its "Drivers" tab, or download the Game Ready Driver directly from the NVIDIA driver download page without installing GeForce Experience.
- AMD: Use AMD Adrenalin (download from amd.com) or grab the driver package directly. Adrenalin also includes the Radeon overlay for in-game monitoring.
- Intel Arc: Use the Intel Driver & Support Assistant or download directly from intel.com. Intel updates Arc drivers frequently.
After updating, restart Windows. Do not skip the restart — the old driver is partially in memory until you reboot.
If you are switching GPU brands or troubleshooting a problem, use DDU (Display Driver Uninstaller) in Safe Mode to cleanly remove the old driver before installing the new one. A clean install eliminates driver conflict artefacts that can cause stutter and crashes.
Step 2: Enable XMP or EXPO in the BIOS
Most PC builds ship with RAM running at its base speed (often 2133 or 2400 MHz) even if the sticks are rated for 3200, 5600, or 6000 MHz. XMP (for Intel systems) and EXPO (for AMD systems) are standardised overclock profiles that tell the CPU to run the memory at its rated speed using timings validated by the manufacturer.
Enabling XMP or EXPO in your BIOS can increase system performance by 10–20%, particularly in games that are CPU-bound or in open-world titles with lots of asset streaming. It costs nothing and takes two minutes.
- Restart your PC and enter the BIOS. The key is usually Delete, F2, or F10 — look for the prompt during the first second of boot.
- Find the memory or overclocking section. Labels vary by manufacturer: "XMP Profile", "EXPO", "D.O.C.P.", or "Memory Profile".
- Select Profile 1 (the rated speed, e.g. 6000 MHz). Profile 2 is usually a higher-risk overclock.
- Save and exit. Windows will reboot. If you get a POST failure or Windows fails to boot, re-enter BIOS and disable XMP — the sticks may not be fully compatible with your motherboard's XMP timings.
Step 3: Set the power plan to Ultimate Performance
Windows 11 ships with "Balanced" as the default power plan. Balanced parks CPU cores at low frequencies during idle periods and ramps them up only when needed — an efficient approach for laptops and office work, but it introduces latency spikes during gaming when the CPU suddenly needs maximum clock speed.
The "High Performance" plan disables core parking. "Ultimate Performance" (hidden by default on Home editions) goes further and eliminates all timer-based power savings.
To enable Ultimate Performance on Windows 11 Home or Pro:
- Press Win+R, type powercfg.cpl, and press Enter.
- Click "Show additional plans". If Ultimate Performance appears, select it and you are done.
- If it does not appear, open an elevated Command Prompt and run:
powercfg -duplicatescheme e9a42b02-d5df-448d-aa00-03f14749eb61 - Refresh the Power Options window and select the newly created Ultimate Performance plan.
On a desktop, leave this enabled permanently. On a laptop, only switch to it when plugged in and gaming — on battery, the heat and power draw are not worth it.
Step 4: Enable Game Mode and HAGS
Game Mode is a Windows 11 feature that, when activated, prioritises the game process for CPU and GPU resources, suppresses Windows Update installations mid-session, and reduces background process interruptions.
To check or enable it: Settings → Gaming → Game Mode → turn it On. It is on by default in a clean Windows 11 install; it can get turned off by certain OEM configuration tools.
Hardware-Accelerated GPU Scheduling (HAGS) moves GPU scheduling work from the CPU to the GPU, reducing scheduling latency. In 2026, it is stable on all current NVIDIA and AMD GPUs and is worth enabling:
- Go to Settings → System → Display → Graphics.
- Click Default graphics settings.
- Toggle Hardware-accelerated GPU scheduling to On.
- Restart Windows.
Step 5: Set your monitor to its maximum refresh rate
If you have a 144Hz, 165Hz, or 240Hz monitor, Windows may not have automatically set it to maximum refresh rate — especially after an OS update or driver reinstall.
- Right-click the desktop → Display settings.
- Scroll down and click Advanced display.
- Under "Choose a refresh rate", select the highest available option for your monitor.
Also check your in-game video settings — many games default to 60 Hz even when the display supports more.
If you have a G-Sync or FreeSync monitor, make sure Variable Refresh Rate is enabled: Settings → System → Display → Graphics → Default graphics settings → Variable refresh rate → On. Enable it in your GPU control panel too (NVIDIA Control Panel → Display → Set up G-SYNC, or AMD Adrenalin → Display → AMD FreeSync).
Step 6: Clean up startup programs
Steam, Discord, Epic Games Launcher, NVIDIA GeForce Experience, Razer Synapse, and a dozen similar apps fight to load at startup. Each one consumes RAM and CPU cycles that could go to your game. The fix is to audit what actually needs to run at startup and delay or disable everything that does not.
- Press Ctrl+Shift+Esc to open Task Manager.
- Click the Startup apps tab.
- Sort by "Startup impact" (High first).
- Right-click anything you do not need immediately after boot and choose Disable.
Safe to disable at startup (you can still launch them manually): Steam, Epic Games Launcher, GOG Galaxy, Spotify, Discord, NVIDIA GeForce Experience. Leave GPU drivers (NVIDIA Display Container, AMD Host Application), audio software, and hardware-specific utilities enabled.
If you already have a lean setup, you can read our developer desktop setup guide — many of the startup management and resource monitoring principles apply equally to gaming.
Step 7: Manage notifications during gaming
Nothing breaks focus like a Windows notification popping up mid-fight. Windows 11 has a built-in Do Not Disturb mode that silences all notifications — and you can schedule it to activate automatically during gaming.
The fastest path: Settings → System → Notifications → Do not disturb. Toggle it on manually when you sit down to play, or use the automatic rule "When playing a game (detecting a full-screen game)" — this is the relevant one for gaming. It is available under Settings → System → Notifications → Turn on do not disturb automatically.
An alternative approach is to configure Windows Focus Assist (an older name for the same feature) via the quick settings panel (Win+A) — it lets you toggle Do Not Disturb in one click without going into Settings.
Step 8: Set up system monitoring
Monitoring CPU temperature, GPU temperature, FPS, and frametime during gaming tells you when something is wrong before it causes a problem. There are two main approaches:
In-game overlay (recommended for gaming itself): MSI Afterburner with RivaTuner Statistics Server is the standard. Install both, set Afterburner to track GPU temperature, clock, VRAM, CPU load and temperature via HWiNFO64 sensors, and configure RTSS to display the metrics on-screen during games. Completely free.
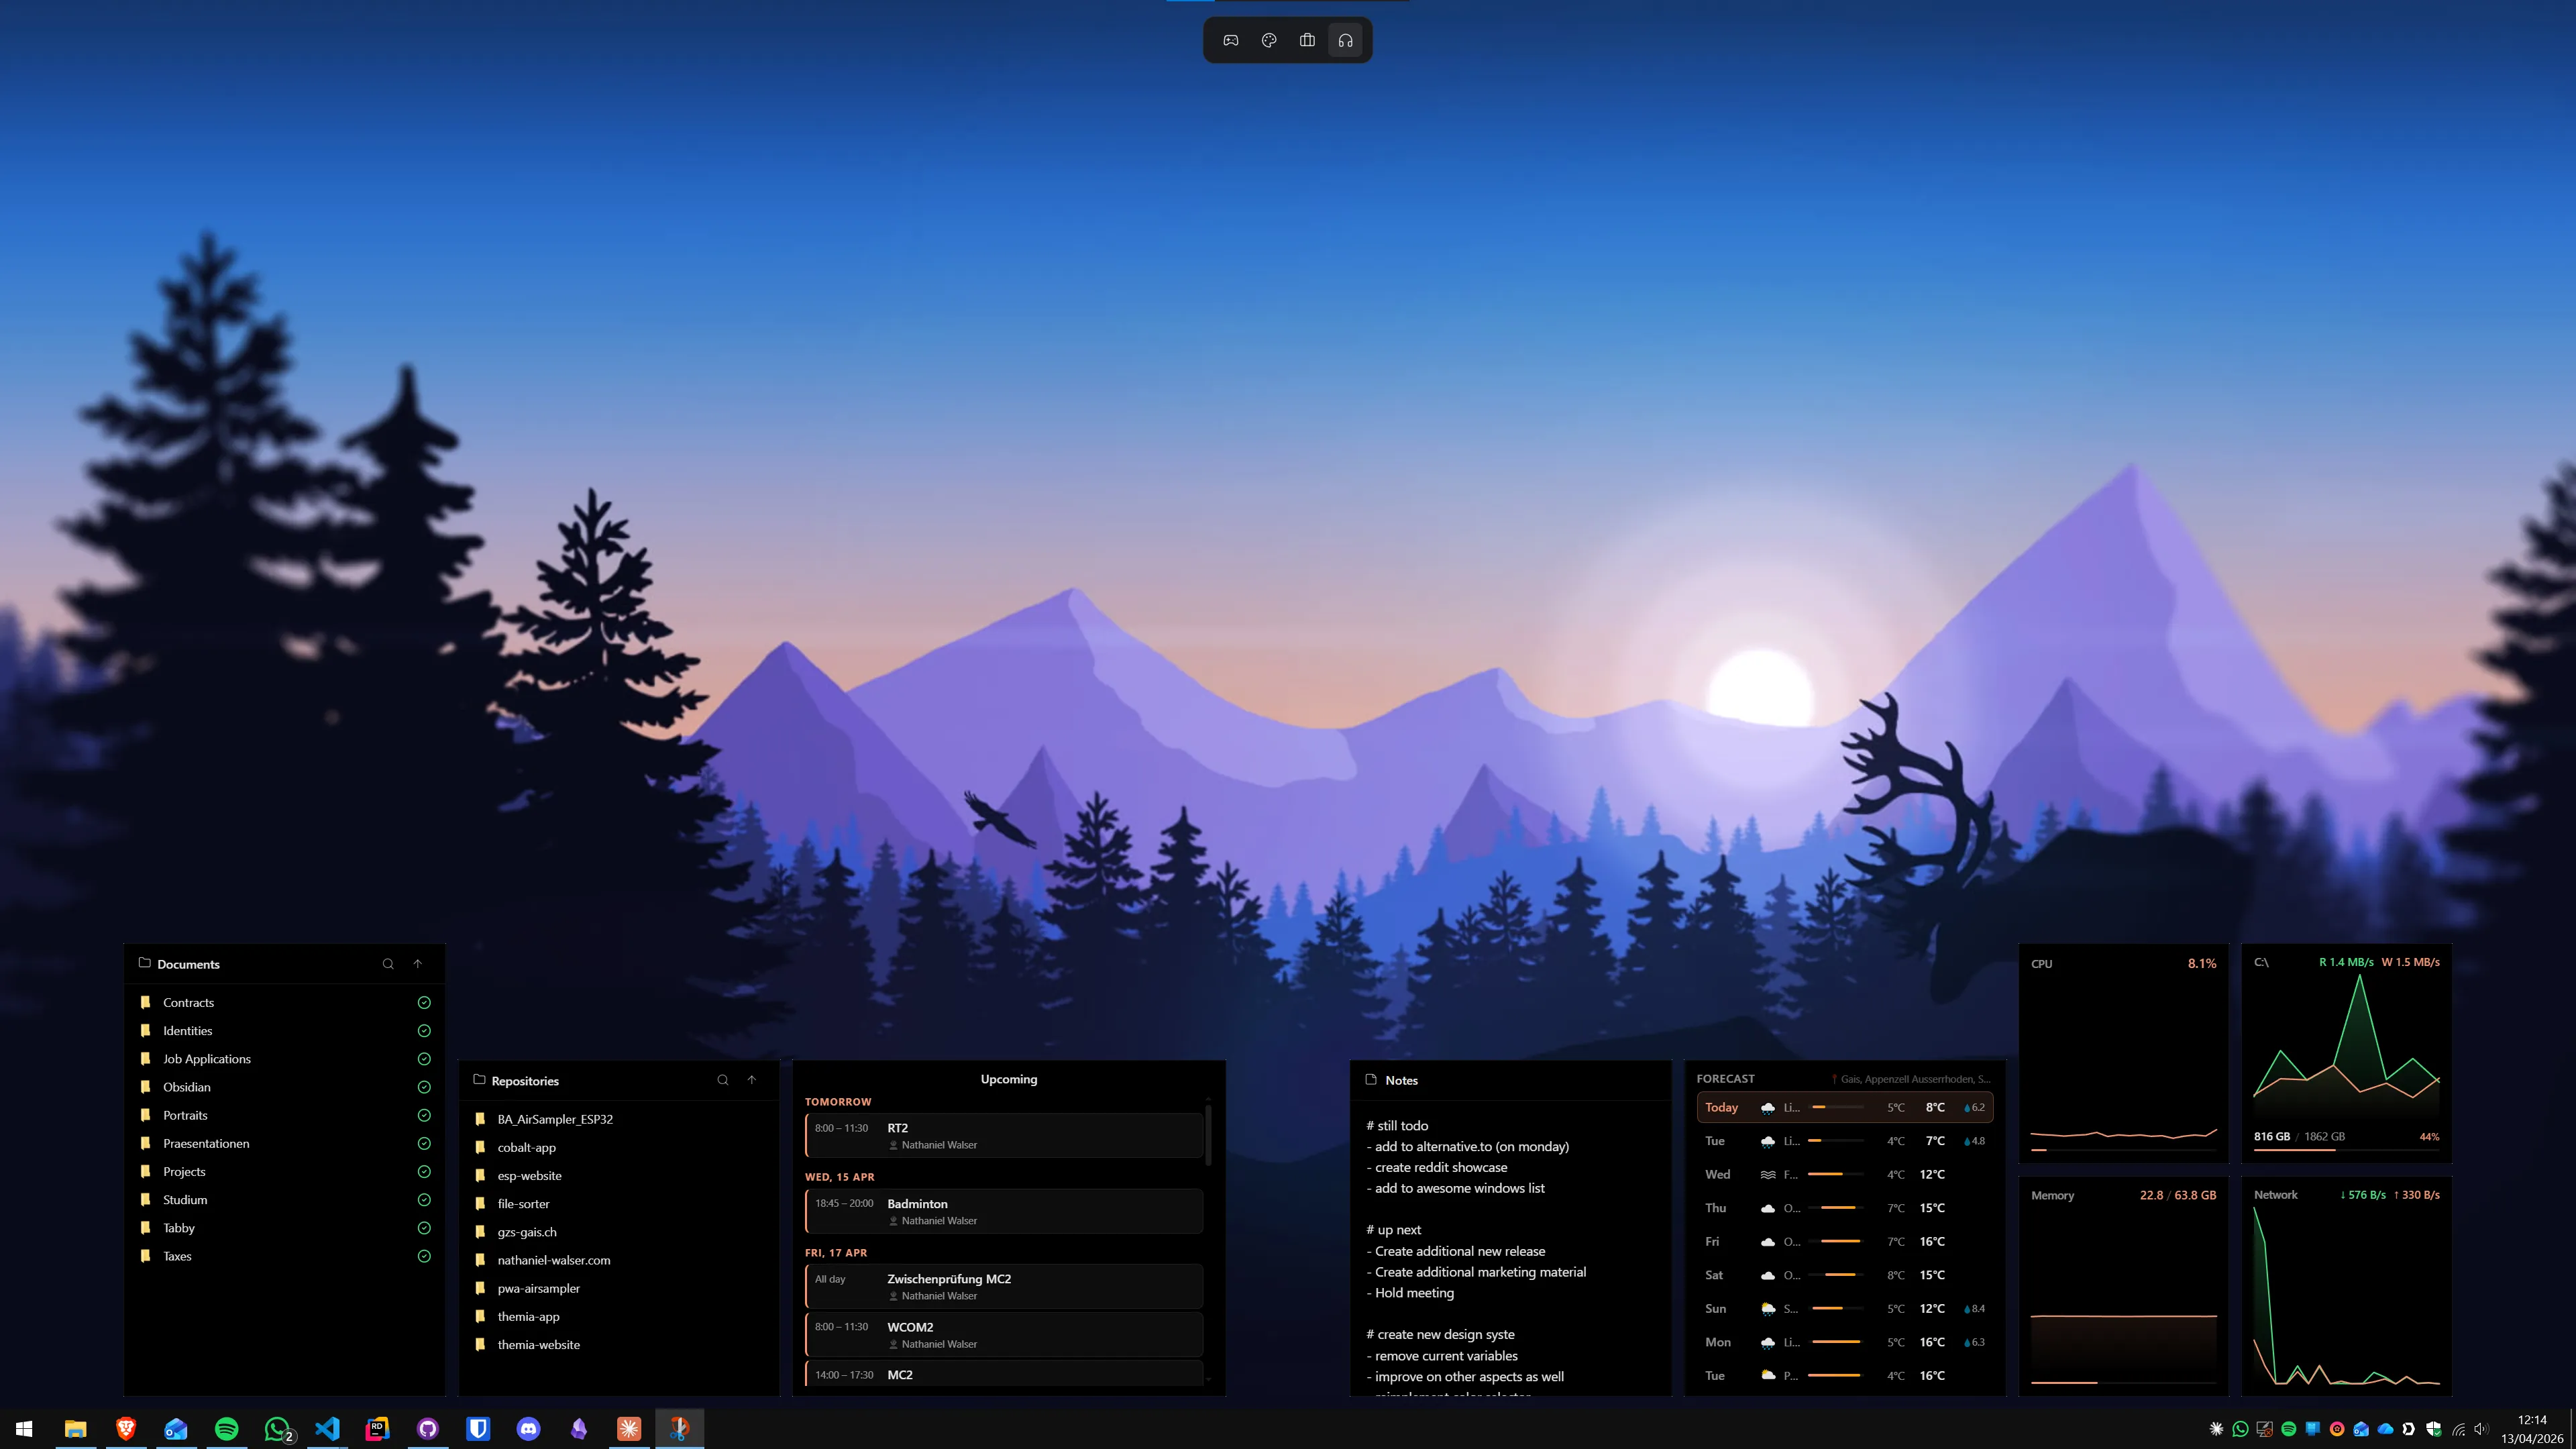
Desktop widget for monitoring between sessions: A desktop widget app like Themia lets you put a live system stats widget directly on your wallpaper — CPU load, RAM usage, GPU temperature, network speed, always visible on the desktop even when no game is running. This is useful when you want to check that temperatures are reasonable before launching a session, or when monitoring your machine during background downloads.
For temperature monitoring specifically, our guide on how to show CPU and GPU temperature on your Windows desktop covers every tool in detail.

Step 9: Add game directories to Windows Defender exclusions
Windows Defender scans files as they are accessed. During a game that is loading hundreds of assets per second, those scans add up. Adding your game library folders to the exclusion list prevents Defender from scanning them on access while still protecting the rest of the system.
- Open Windows Security (search for it in Start).
- Go to Virus & threat protection → Manage settings.
- Scroll to Exclusions and click Add or remove exclusions.
- Add your game folders: typically
C:\Program Files (x86)\Steam\steamapps,C:\Program Files\Epic Games, and any custom install paths.
Only exclude folders that contain game files. Do not exclude system folders, download directories, or anything that receives files from the internet.
Step 10: Disable Xbox Game Bar if you do not use it
The Xbox Game Bar (Win+G) adds a lightweight overlay layer that is active whenever a full-screen game is running, even if you never open it. If you use MSI Afterburner for your overlay and never want Game Bar, you can disable it:
- Settings → Gaming → Xbox Game Bar → toggle Open Xbox Game Bar to Off.
- Alternatively, keep it enabled but just never press Win+G — the overhead is minimal on modern systems.
Note: Game Mode and Game Bar are separate settings. Disabling Game Bar does not disable Game Mode, and vice versa.
Optional: the ricing angle
Many competitive players keep their gaming desktop visually minimal — no wallpaper, no icons, black background, monochrome taskbar. Others build an aesthetic gaming setup with themed wallpapers, colour-matched widgets, and custom icon packs.
If the visual side interests you, our Windows ricing guide covers the tools and community resources for building a desktop that looks as custom as your rig.
Putting it together: the practical checklist
In order of real-world impact:
- Update GPU driver to the latest Game Ready / Software release.
- Enable XMP or EXPO in BIOS.
- Switch to Ultimate Performance power plan.
- Enable Game Mode and HAGS.
- Set monitor to maximum refresh rate, enable G-Sync/FreeSync.
- Audit startup programs — disable everything non-essential.
- Configure Do Not Disturb to activate during full-screen games.
- Set up an in-game monitoring overlay (MSI Afterburner + RTSS).
- Add game directories to Windows Defender exclusions.
- Optionally disable Xbox Game Bar if you use an alternative overlay.
Steps 1–5 take about 20 minutes and typically deliver the most measurable FPS and latency improvement. Steps 6–10 are about quality of life and long-term stability. Do them all once and you will not need to revisit this list until you change hardware.
For network-related gaming setup (ping, DNS, router QoS), see our guide on monitoring network speed on the Windows desktop — it covers how to set up a persistent speed readout so you can spot connection issues before they affect your session.
FAQ
Does Game Mode actually improve FPS in Windows 11?
For most modern games on a clean system, the difference is small — typically 1–5% depending on what else is running. Game Mode's real value is consistency: it suppresses Windows Update restarts, reduces background process interruptions, and prioritises GPU resources. On a system with lots of background software, the benefit can be more noticeable. It is free to enable and has no downside, so there is no reason to leave it off.
Should I use the Ultimate Performance power plan for gaming?
On a desktop PC, yes — it eliminates CPU park states and keeps all cores fully clocked, which reduces micro-stutters. On a laptop, be cautious: it will drain your battery fast and may cause the CPU to run hot enough to throttle. On laptops, "High Performance" is the better everyday gaming option; switch to Ultimate Performance only when plugged in and you want maximum benchmark numbers.
What is HAGS and should I turn it on for gaming?
Hardware-Accelerated GPU Scheduling (HAGS) moves GPU scheduling work from the CPU driver to the GPU itself. In 2026, HAGS is mature and worth enabling on any GPU from NVIDIA RTX 20 series or AMD RX 5000 series onwards. Older GPUs (GTX 10xx, RX 580) may see no benefit or a small regression. To enable it: Settings → System → Display → Graphics → Default graphics settings → Hardware-accelerated GPU scheduling.
How do I enable XMP or EXPO on Windows 11?
XMP (Intel) and EXPO (AMD) are RAM overclock profiles built into your memory sticks. They are not enabled in Windows — they are a BIOS/UEFI setting. Restart your PC, enter BIOS (usually Delete, F2, or F10 at startup), look for XMP or EXPO in the memory or overclocking section, enable it, and save. This alone can boost system performance by 10–20% because most PCs ship with RAM running below its rated speed.
Does Windows Defender hurt gaming performance?
Slightly, if it is actively scanning game files. The practical fix is to add your game install directories to Defender's exclusion list: Windows Security → Virus & threat protection → Manage settings → Add or remove exclusions. Only exclude folders you trust — your Steam, Epic, or Battle.net library folders are safe to exclude; do not exclude your entire C: drive.
Do I need a third-party antivirus for gaming on Windows 11?
No. Windows Defender (Microsoft Defender Antivirus) is a capable, free antivirus built into Windows 11 that consistently scores well in independent lab tests. Third-party antivirus products add overhead and can conflict with anti-cheat systems in games. For the majority of gamers, Defender plus a password manager and a little browsing hygiene is the right approach.
What is the best FPS overlay for Windows 11 in 2026?
For pure FPS display, the Xbox Game Bar overlay (Win+G) is the lowest-friction option — it is built in, no install needed. For deeper monitoring (GPU temperature, CPU load, VRAM usage, frametime), MSI Afterburner with RivaTuner Statistics Server is the gold standard: free, precise, and works across all GPU brands. NVIDIA Overlay (GeForce Experience) and AMD Adrenalin both include their own overlays that are slightly easier to set up but less customisable.