Stardock Fences 6 Tabs: Full Feature Guide (2026)
Stardock Fences 6 shipped with a feature that changes how you think about containers on your desktop: container tabs. Instead of one fence holding one flat pile of icons, a single container can now hold multiple named tabs — each with its own icon set, its own Auto-Organize rules, and its own label. The container footprint on your desktop stays the same; the content switches with a single click.
For users who previously managed desktop clutter by spreading dozens of separate fences across every monitor, tabs offer a cleaner path. This guide walks through how tabs work, how to configure them, how they differ from Fences' separate Desktop Pages feature, and how Themia — the live-widget alternative — approaches the same space problem from a completely different direction.
What Container Tabs Actually Do
The core idea is simple: a Fences container is a labelled box on your desktop. Before Fences 6, each box held one collection of icons. With tabs, each box can hold multiple sub-collections, switchable by clicking a tab label along the top of the container.
A practical example: you work on three active client projects simultaneously. Previously, you might have had three separate fences — "Client A", "Client B", "Client C" — each occupying its own chunk of desktop space. With tabs, you create one fence labelled "Projects" with three tabs inside. Same icons, same organization, one-third of the desktop footprint.
Tabs also stack well with Fences' other features. Each tab can carry its own Auto-Organize rules, so incoming files route not just to the right fence but to the right tab within that fence. A file named "ProjectA-invoice.pdf" can land in the "Client A" tab automatically, while "ProjectB-scope.docx" finds its way to "Client B" — all inside the same container.
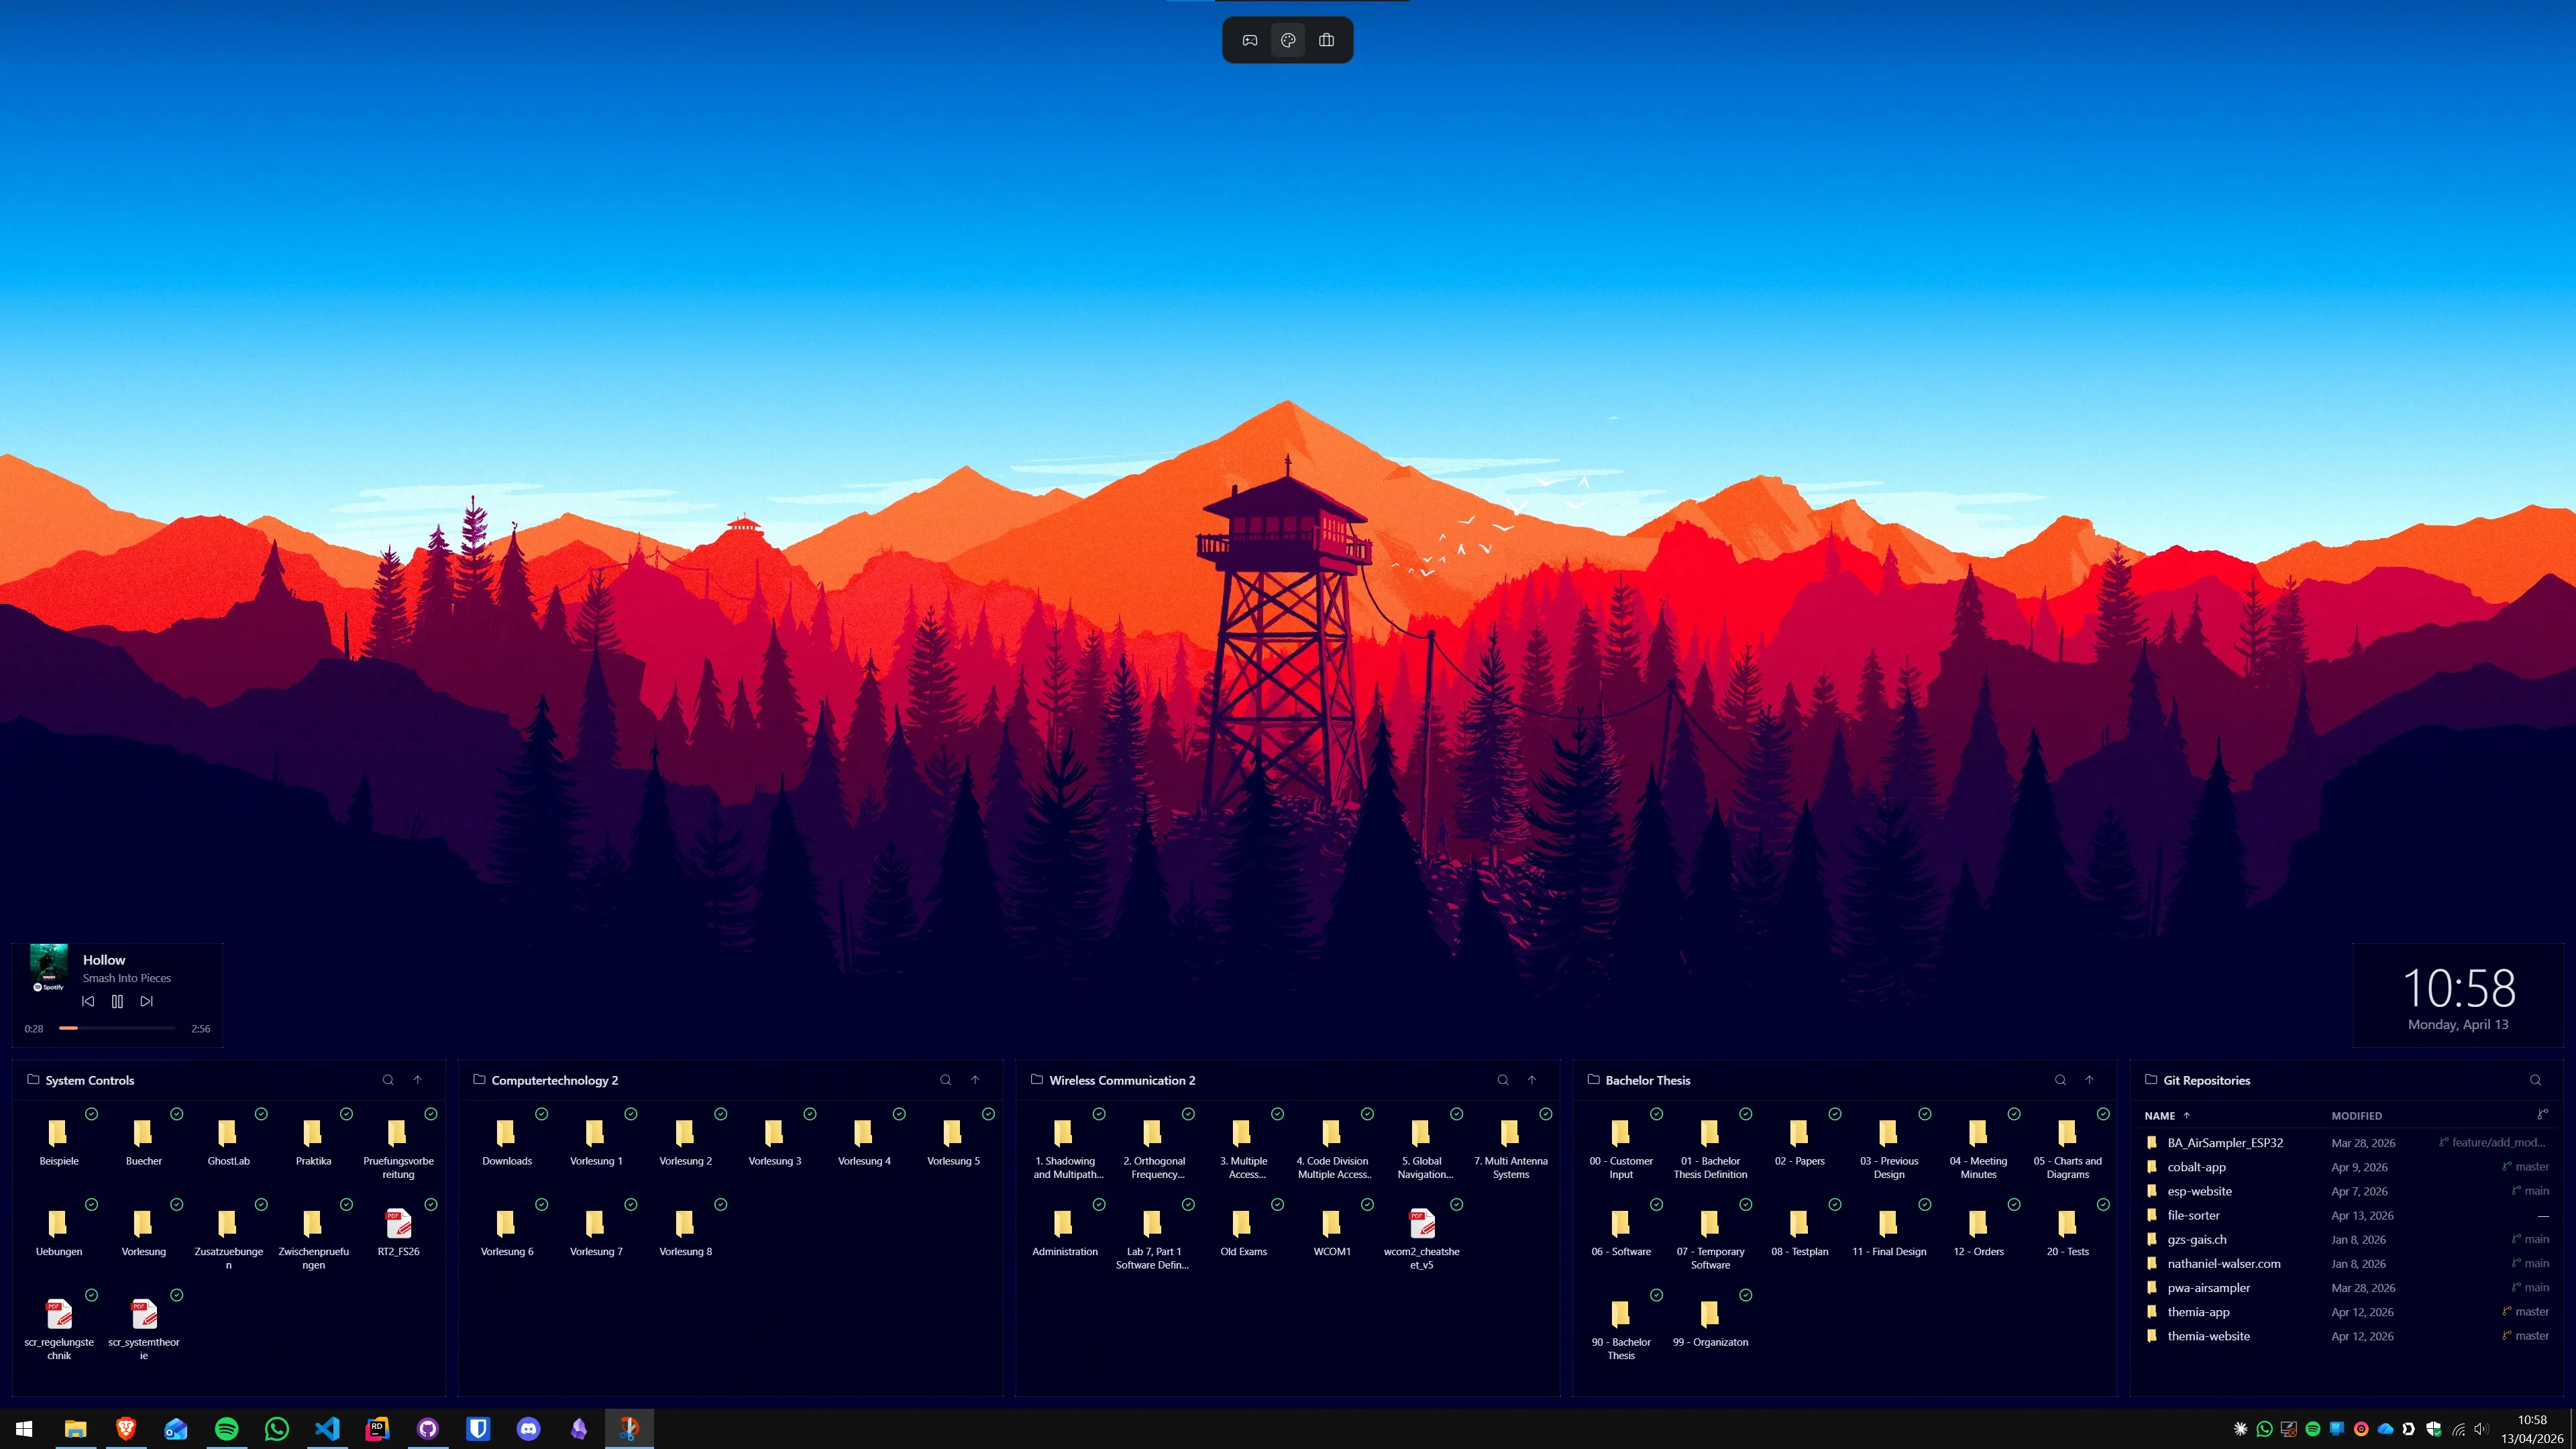
How to Add Tabs to a Fence
The setup flow is short:
- Right-click any existing fence on your desktop and choose Configure fence.
- In the fence settings dialog, locate the Tabs section.
- Click Add tab and type a name for the first tab. Your existing icons move into this tab automatically.
- Click Add tab again for each additional tab and name them accordingly.
- Close the dialog. You can now drag icons between tabs by dropping them onto a tab label.
Reordering tabs is done by dragging the tab labels left or right inside the container header. Renaming a tab is a double-click on the label. Deleting a tab removes the tab and leaves its icons on the desktop loose, so move them first if you want them placed elsewhere.
Auto-Organize rules for individual tabs are configured in the same fence settings dialog. Switch to the tab you want to configure in the preview, then go to the Auto-Organize section — each tab shows its own rule list there. See the Auto-Organize guide for the full rule configuration walkthrough.
Tab Configurations That Work Well
Not all use cases benefit equally from tabs. These three patterns show where the feature adds the most value:
Project-Based Work
Knowledge workers who juggle multiple concurrent projects get the clearest benefit. One fence, one tab per project, Auto-Organize rules that route incoming files by name pattern (e.g., "name contains ClientA") to the right tab. The result is a single compact container that sorts incoming files without any manual dragging.
Mixed-Type Categorization
If you regularly work with different file types that feel naturally related — for instance, "Designs" (including .psd, .ai, .fig files) and "Exports" (including .png, .jpg, .pdf) — putting them in two tabs of one "Creative" fence keeps them visually grouped without merging the sets. Switching between the tabs is faster than hunting across a desktop full of separate fences.
Temporary vs Permanent Shortcuts
A two-tab fence — "Active" and "Archive" — gives you a simple in-box / reference workflow. When a shortcut is no longer in heavy rotation but you are not ready to delete it, drag it to the Archive tab. The Active tab stays clean; the Archive tab holds everything you might need occasionally. No file leaves the desktop fence; nothing clutters the Active view.

Tabs vs Desktop Pages: The Difference
Fences 6 contains two features that sound similar but operate at completely different levels: Container Tabs and Desktop Pages. Confusing them leads to choosing the wrong tool for the job.
Container Tabs live inside a single fence. They let you group sub-categories within one container. The rest of your desktop — other fences, your wallpaper, your Themia widgets if you run both — stays unchanged when you switch tabs.
Desktop Pages are like virtual workspaces for your entire desktop surface. You scroll or swipe between pages, and each page shows a completely different arrangement of fences, icons, and widgets. Switching to Page 2 replaces everything visible on the desktop with a different layout, not just the contents of one container.
A useful mental model: Pages are to the whole desktop what tabs are to one fence. You might have three Desktop Pages — Work, Personal, Gaming — and your Work page might contain a "Projects" fence with three tabs inside it. Both features stack together without conflict.
How Themia Handles the Same Problem
Themia takes a fundamentally different approach to desktop real estate. Rather than organizing icons into increasingly fine-grained containers, Themia replaces icon-based interaction entirely. A Themia desktop shows live-data widgets — weather, system stats, calendar, to-do lists — where icon stacks would otherwise sit.
The implication is that Themia users never need tabs, because they never accumulate file shortcuts on the desktop in the first place. Files stay in File Explorer; apps launch from the taskbar or Start menu. The desktop becomes a dashboard rather than a filing system.
This is a genuine philosophical split, not a quality comparison. If your workflow centers on working with desktop files and shortcuts — which is common for graphic designers, developers with project shortcuts, and anyone who uses the desktop as an active staging area — Fences tabs are genuinely useful. If you want the desktop to show you live information rather than files, Themia is the natural fit.
Some users combine both: Fences for a small number of key project shortcuts in neat tabbed containers, Themia widgets providing weather, calendar, and system stats around them. The guide to running Themia and Fences together covers that combined setup in detail.
Fences 6 Pricing in 2026
Stardock Fences 6 is available as a one-time perpetual licence at $29.99 or as an annual subscription at $9.99 per year. A multi-seat licence covering up to five users is $49.99 perpetual or $19.99 per year. The container tabs feature is included in all licence tiers — there is no additional charge for it.
Themia is free to download with a solid base feature set. The Pro upgrade — which unlocks additional widget types and expanded customization — costs a flat $19 one-time payment with no subscription required. The two tools are priced for different markets: Fences is a mature, decade-old desktop organiser with deep Windows Shell integration; Themia is a lightweight Tauri application under 10 MB focused on live-data desktop widgets.

Tips for Getting the Most from Fences Tabs
- Limit tabs per fence to three or four. More than four tabs become awkward to navigate and defeat the purpose of reducing clutter. If you find yourself adding a fifth tab, consider whether two separate fences would be clearer.
- Name tabs for content, not process. "Client A / Client B / Client C" is more navigable than "Active / In Progress / Done". Descriptive names scan faster than workflow-state labels when you are hunting for a specific icon.
- Assign Auto-Organize rules per tab from day one. Setting up rules before you have icons is easier than backfilling them once a tab is full. Define the rule, then let incoming files self-sort.
- Pair tabs with the default catch-all fence. Configure one fence (without tabs) as your Auto-Organize default destination. This ensures anything that doesn't match a specific tab rule still lands somewhere organised, not loose on the desktop.
- Combine with Quick Hide for clean screen-shares. Even with tabs and carefully organised containers, a single double-click on an empty desktop area triggers Quick Hide and makes everything disappear before a video call. One double-click brings it all back afterwards.
Summary
Stardock Fences 6 container tabs solve a specific problem: too many separate fences competing for desktop real estate. By letting one container hold multiple named sub-collections — each with independent Auto-Organize rules — tabs reduce the number of containers you need while preserving fine-grained organization.
The feature works best when combined with the rest of the Fences toolkit: Auto-Organize rules to route incoming files, Desktop Pages for whole-desktop layout switching, and the Folder Portals feature for surfacing the contents of real disk folders. Together, these tools make Fences 6 a substantially more flexible organiser than earlier versions.
If icon organization is not your priority and you would rather have your desktop surface show live data — calendar, weather, system stats — Themia's widget approach sidesteps the space problem entirely by not using icons at all.
FAQ
What is the Tabs feature in Stardock Fences 6?
Fences 6 lets you add multiple named tabs inside a single fence container. Instead of one fence showing one flat list of icons, you can have a "Work" tab and a "Personal" tab living in the same container footprint. Clicking a tab switches the visible icon group without opening any new window.
How do I add a new tab to an existing fence?
Right-click any fence and choose "Configure fence". In the fence settings dialog, look for the Tabs section and click "Add tab". Give the tab a name, then drag or drop icons into it. Each tab is independently named and can hold a different set of icons or shortcuts.
Can each tab have its own Auto-Organize rules?
Yes. Each tab inside a fence can be configured with its own Auto-Organize rules, just like a standalone fence. An incoming .pdf can target a "Documents" tab while an .exe targets the "Installers" tab — all inside the same parent container on your desktop.
What is the difference between Fences Tabs and Desktop Pages?
These are two separate features. Desktop Pages are like virtual workspaces for your entire desktop — you swipe or scroll between them, each showing a completely different set of fences. Tabs live inside a single fence container and let you switch sub-groups within that one container. You can use both features together: multiple Pages, each containing fences with multiple tabs.
Do Fences tabs work with multiple monitors?
Yes. Each monitor maintains its own set of fences and those fences can each have tabs independently. A tabbed fence on your left monitor and a single-page fence on your right monitor are completely separate configurations. There is no requirement for symmetry across monitors.
Does Themia have a tabs equivalent for widgets?
Themia uses independent widget slots rather than tabs. Each widget is a discrete panel placed freely on the desktop — there is no concept of "tabs" because each widget already shows a live stream of one type of information. If you want to see weather AND a calendar, you place two separate widgets side by side rather than toggling between tabs.
Should I use tabs or create multiple fences for the same category?
Tabs win when screen real estate is tight. If you have limited desktop space but want to keep related sub-categories together — for example, "Active Projects", "Archive", and "References" as tabs inside one fence — tabs save you from spreading three separate containers across the desktop. Use separate fences when the categories are unrelated and you want them always visible at a glance.